Convert Website To Android App in Android Studio
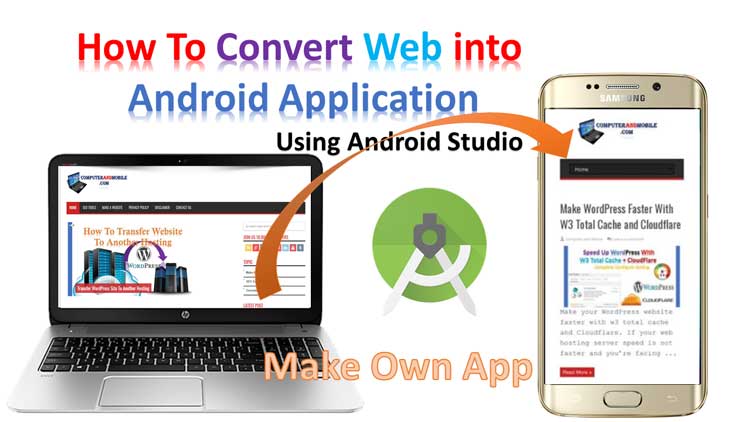
Today, We will discuss How To convert Website to Android app using Android Studio. You can convert any website into an Android application by following this method. Therefore, you need an Android Studio to convert website to android app. We will use the Webview method in our Java main activity to view the web in the Android application. Converting your website into the App is a fantastic way to increase user engagement and reach more audiences. With Android Studio, this process is straightforward. This guide will walk you through step-by-step, ensuring that even beginners can easily follow this guideline. You can Also Watch My YouTube Video How To Convert Any Website Using Android Studio.
What You Need To Convert Website Into App
- Android Studio is installed on your computer.
- Basic knowledge of Android app development.
- Your website URL.
Step 1: Set Up Your Project in Android Studio To Convert Website
- Open Android Studio and start a new project.
- Choose a template. For beginners, the ‘Empty Views Activity‘ template works well.
- Choose your project name and set your save location.
- Configure the project with the default settings.
First, You need an Android studio to make the application. If you don’t have Android Studio, please download and install it on your computer. Open and create new projects with Empty Views Activity in Java language.

Step 2: Add Internet Permission in the AndroidManifest file
We need to add internet permission in the AndroidManifest file to access the network. AndroidManifest file is available in the Manifest folder at the top of the left-side menu in the Android studio, Which is shown in the screenshot below. Please copy the following code and paste its exact place into the AndroidManifest File.
<uses-permission android:name="android.permission.INTERNET" />

Step 3: Add WebView in Activity_main.xml file.
WebView is a component that displays web content in your app. So, We will replace our activity_ main.xml file whole code with the following code. Copy the whole code and replace it with your App Activity_main.xml file whole code.
<?xml version="1.0" encoding="utf-8"?>
<RelativeLayout
    xmlns:android="http://schemas.android.com/apk/res/android"

    android:layout_width="match_parent"
    android:layout_height="match_parent"
   >
    <WebView
        android:layout_width="fill_parent"
        android:layout_height="fill_parent"
        android:id="@+id/webView"
        android:layout_alignParentTop="true"
        android:layout_alignParentLeft="true"
        android:layout_alignParentStart="true"
        android:layout_alignParentBottom="true"
        android:layout_alignParentRight="true"
        android:layout_alignParentEnd="true"
        android:visibility="gone" />
    <ProgressBar
        android:id="@+id/progressBar1"
        android:layout_width="wrap_content"
        android:layout_height="wrap_content"
        android:layout_centerHorizontal="true"
        android:layout_centerVertical="true"
        android:layout_centerInParent="true" />
</RelativeLayout>
Step 4: Load Your Website
We need loadUrl method to load the website in the Android app. So, we will use loadurl meth in MainActivity.Java.
- Use the
loadUrlmethod in WebView to load your website. - Enter your website’s URL as the method’s parameter.
webview.loadUrl("https://www.computerandmobile.com");Step 5: Handle Back Button Navigation
- Override the
onKeyDownmethod in your MainActivity.java Class. - This ensures your app handles the back button presses correctly within the WebView.
@Override
    public boolean onKeyDown(int keyCode, KeyEvent event) {
        if (event.getAction() == KeyEvent.ACTION_DOWN) {
            switch (keyCode) {
                case KeyEvent.KEYCODE_BACK:
                    if (webview.canGoBack()) {
                        webview.goBack();
                    } else {
                        finish();
                    }
                    return true;
            }

        }
        return super.onKeyDown(keyCode, event);
    }
Step 7: MainActivity.java To Convert Website To Android App
Finally, please Copy the following whole code and replace it with your MainActivity.java class to Convert Website To Android App. So, please replace the complete code without your package name. Additionally, Don’t forget to change the domain name. Like the following ScreenShot.
MainActivity.java :

import android.content.Intent;
import android.os.Handler;
import androidx.appcompat.app.AppCompatActivity;
import android.os.Bundle;
import android.view.KeyEvent;
import android.webkit.WebView;
import android.webkit.WebViewClient;
import android.graphics.Bitmap;
import android.view.View;
import android.widget.ProgressBar;
import android.widget.Toast;

public class MainActivity extends AppCompatActivity {

    String ShowOrHideWebViewInitialUse = "show";
    private WebView webview ;
    private ProgressBar spinner;

    @Override
    protected void onCreate(Bundle savedInstanceState) {
        super.onCreate(savedInstanceState);
        setContentView(R.layout.activity_main);

        webview =(WebView)findViewById(R.id.webView);
        spinner = (ProgressBar)findViewById(R.id.progressBar1);
        webview.setWebViewClient(new CustomWebViewClient());

        webview.getSettings().setJavaScriptEnabled(true);
        webview.getSettings().setDomStorageEnabled(true);
        webview.setOverScrollMode(WebView.OVER_SCROLL_NEVER);
        webview.loadUrl("https://www.computerandmobile.com");

    }

    // This allows for a splash screen
    // (and hide elements once the page loads)
    private class CustomWebViewClient extends WebViewClient {

        @Override
        public void onPageStarted(WebView webview, String url, Bitmap favicon) {

            // only make it invisible the FIRST time the app is run
            if (ShowOrHideWebViewInitialUse.equals("show")) {
                webview.setVisibility(webview.INVISIBLE);
            }
        }

        @Override
        public void onPageFinished(WebView view, String url) {

            ShowOrHideWebViewInitialUse = "hide";
            spinner.setVisibility(View.GONE);

            view.setVisibility(webview.VISIBLE);
            super.onPageFinished(view, url);

        }
    }

    @Override
    public boolean onKeyDown(int keyCode, KeyEvent event) {
        if (event.getAction() == KeyEvent.ACTION_DOWN) {
            switch (keyCode) {
                case KeyEvent.KEYCODE_BACK:
                    if (webview.canGoBack()) {
                        webview.goBack();
                    } else {
                        finish();
                    }
                    return true;
            }

        }
        return super.onKeyDown(keyCode, event);
    }
}
Step 8: Testing and Debugging
- Use Android Studio’s emulator to test your app.
- Check for any layout issues or loading errors.
- Test on different screen sizes for responsiveness.
If you want AdMob ads in your Android App, please check out How to Ad Admob Ads Into Android App
Conclusion: Convert website to Android app in Android Studio is a great way to make your content more accessible on mobile devices. This guide simplifies the process, making it achievable for those new to Android development.
FAQ’s
How to Convert Any Website into an Android Application Using Android Studio?
Install Android Studio: Download and install Android Studio from the official website.
Create a New Project: Open Android Studio, start a new project, and choose an Empty Views Activity template.
Add WebView: Add a WebView component to your project’s main_activity.xml layout. WebView allows your app to display website content.
Set Up WebView: In the main activity file, configure the WebView settings. Enable JavaScript for interactive websites.
Load Your Website: Use the
loadUrl method in WebView to load your website’s URL.Test Your App: Run your app in the emulator to ensure it works correctly.
How Do I Make a Website an App on My Android?
Choose a Tool: Android Studio or a website-to-app converter tool.
Set-Up: If using Android Studio, start a new project with Empty Views Activity template, input your website’s URL.
Customize: Add necessary features like navigation and push notifications.
Convert and Test: Convert the website to an app and test it on your device for functionality.
Can I Convert a PHP Website to an Android App?
Using WebView: Load your PHP website with the WebView method in an Android Studio project.
Optimizing the Website: Make sure the website is mobile-friendly for a better user experience.
Adding App Features: Implement features like offline access or push notifications to enhance the app.
Testing: Ensure the app works well with the PHP backend and performs efficiently on mobile devices.


