How to Convert a Website to an Android App for Free (3 Ways Compared)
Turn your website into an Android app: a one-page WebView app you can run in ten minutes, free online builders, or ready source code. What each really costs, what Google Play rejects, and the features that get a website app accepted.
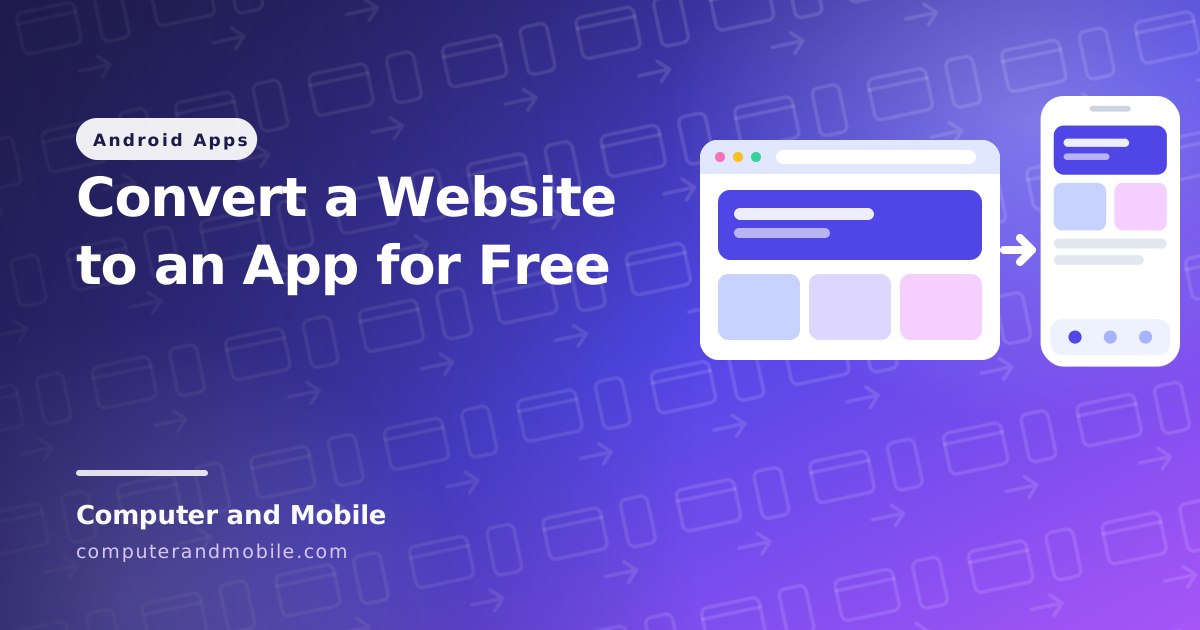
If you already have a website, you can have an Android app of it this week. There are three ways to get there: a free online app builder, building a WebView app yourself in Android Studio, or starting from ready source code. All three can be done for free or nearly free. They differ in who controls the app, what it can do, and how likely Google Play is to accept it.
This guide compares the three honestly, then covers the part that decides whether your app is published at all: what Google Play rejects, and the features that make a website app worth installing.
The three ways at a glance
| Free online builder | Build it yourself | Ready source code | |
|---|---|---|---|
| Cost | Free plan, paid plans for the useful features | Free | A one-time price |
| Time | Minutes | Days, if you are new to Android | An afternoon |
| Coding | None | Kotlin or Java | Edit one config file |
| Your own ads and income | Often limited on the free plan | Yes | Yes |
| You own the code | No | Yes | Yes |
| Push notifications, offline page, file upload | Usually paid | You write each one | Included |
Way 1: A free online app builder
Services such as AppsGeyser and WebIntoApp ask for your website address, a name and an icon, and give you an APK or an app bundle a few minutes later. For a quick test or a private app for your own team, that is enough.
Before you publish one, read the free plan carefully:
- Branding and ads. Free plans commonly add the builder's own branding or ads, or limit which ads you can show. Removing them is usually what the paid plan is for.
- Features behind a paywall. Push notifications, AdMob, removing the splash branding and updates often need a paid plan.
- You do not own the code. If the service changes its terms or closes, you cannot rebuild the app yourself.
- It is still a website in a frame. A builder does not stop Google Play from rejecting a thin wrapper (see below).
Way 2: Build a WebView app yourself
Android has a built-in browser component, WebView, that shows a website inside your app. A basic version is a few dozen lines of code, and it costs nothing. Our step-by-step Android Studio guide builds one: the project, the internet permission, the layout, the WebView code, an offline page and file uploads.
The simplest WebView app: one page of code
Here is a complete, working website app you can run in ten minutes. It has one screen, your website, and nothing else.
- In Android Studio choose New Project → Empty Activity, language Kotlin, and click Finish.
- Open
app/src/main/AndroidManifest.xmland add the internet permission above the<application>tag. - Open
MainActivity.kt, replace everything in it with the code below, and changehttps://yourwebsite.com/to your own address. - Connect your phone (or start an emulator) and press Run.
<!-- app/src/main/AndroidManifest.xml, above <application> -->
<uses-permission android:name="android.permission.INTERNET" />
package com.example.mywebsite // keep the package line Android Studio made for you
import android.annotation.SuppressLint
import android.os.Bundle
import android.webkit.WebView
import android.webkit.WebViewClient
import androidx.activity.ComponentActivity
import androidx.activity.OnBackPressedCallback
import androidx.core.view.ViewCompat
import androidx.core.view.WindowInsetsCompat
class MainActivity : ComponentActivity() {
private lateinit var webView: WebView
@SuppressLint("SetJavaScriptEnabled")
override fun onCreate(savedInstanceState: Bundle?) {
super.onCreate(savedInstanceState)
webView = WebView(this)
webView.settings.javaScriptEnabled = true // most websites need JavaScript
webView.settings.domStorageEnabled = true // logins, carts and site settings
webView.webViewClient = WebViewClient() // links open inside the app, not in Chrome
setContentView(webView)
// Keep the page clear of the status bar and the navigation bar (Android 15 and newer)
ViewCompat.setOnApplyWindowInsetsListener(webView) { view, insets ->
val bars = insets.getInsets(WindowInsetsCompat.Type.systemBars())
view.setPadding(bars.left, bars.top, bars.right, bars.bottom)
insets
}
if (savedInstanceState == null) {
webView.loadUrl("https://yourwebsite.com/") // your website
} else {
webView.restoreState(savedInstanceState) // the phone was rotated
}
// Back button: go back one page; close the app only on the first page
onBackPressedDispatcher.addCallback(this, object : OnBackPressedCallback(true) {
override fun handleOnBackPressed() {
if (webView.canGoBack()) webView.goBack() else finish()
}
})
}
override fun onSaveInstanceState(outState: Bundle) {
super.onSaveInstanceState(outState)
webView.saveState(outState)
}
}What each part does:
| Line | Why it is there |
|---|---|
javaScriptEnabled = true | Menus, sliders, forms and most modern websites need JavaScript |
domStorageEnabled = true | Lets the site remember logins, carts and settings |
WebViewClient() | Without it, every link you tap opens in Chrome and leaves your app |
| The insets listener | On Android 15 and newer, apps draw behind the status bar. This keeps your website below it. |
saveState / restoreState | Rotating the phone keeps the page you were on instead of reloading the home page |
| The back button callback | Back goes to the previous page, like a browser, and closes the app only on the first page |
That is a real app, but it is not ready for Google Play yet: it has no offline page, file uploads and downloads do nothing, and it adds nothing a browser tab cannot do. Our full Android Studio guide adds the offline page, file uploads and the rest step by step.
The time goes into everything a real website needs from an app: logins that stay logged in, downloads, uploads, links to other sites, payment pages, and notifications. Plan for days, not hours, if this is your first Android project.
Way 3: Start from ready source code
Ready source code gives you a finished app that you point at your website and rebrand: your address, name, icon and colours, usually in one config file. You own the code, there is no monthly fee, and features like push notifications, AdMob, an offline page, file uploads and a bottom menu are already built and tested. You still build and publish it yourself in Android Studio, so you need Android Studio installed, but no Android experience.
What Google Play rejects
Two Google Play policies catch most website apps:
- Webviews of other people's websites. Google Play's spam policy does not allow apps whose main purpose is to show a website without the permission of its owner. Only make apps of websites you own or have written permission for.
- Minimum functionality. An app that only loads a website and does nothing a browser tab could not do is rejected as low value. Add features that need an app: push notifications, a bottom menu, an offline page, saved pages, sharing.
Two more practical rules: you need a privacy policy, linked in the app and in the store listing, and a new personal developer account must run a closed test with at least 12 testers for 14 days before it can publish to everyone. Start that test early.
The checklist that gets a website app accepted
Before you publish a website app, check that it:
[ ] opens only your own website (or one you have permission for)
[ ] shows its own offline page instead of the browser error
[ ] lets users upload files (forms, profile pictures)
[ ] downloads files (PDFs, invoices) to the phone
[ ] opens other websites in the browser, not inside the app
[ ] goes back a page with the Back button, and exits only on the home page
[ ] has at least one feature a browser tab does not: push notifications,
    a bottom menu, saved pages, share, or a home-screen shortcut
[ ] has a privacy policy link in the app and in the store listing
Problems every website app runs into
| Problem | Fix |
|---|---|
“Sign in with Google” shows error 403 disallowed_useragent | Google blocks its sign-in inside a WebView. Open that page in a Custom Tab (code below), or offer email sign-in inside the app. |
| The upload button does nothing | A WebView needs onShowFileChooser in its WebChromeClient to open the file picker |
| Downloads do nothing | Add a DownloadListener and save the file with Android's download manager |
| Users are logged out every time | Cookies are not kept. Turn on cookies and call CookieManager.getInstance().flush() when the app goes to the background. |
| A white screen or the browser's error page when offline | Catch the error and show your own offline page with a Retry button |
| Payment pages break or open the browser | List your payment gateway's domains as pages that stay inside the app |
| Other websites open inside the app | Open links to other domains in the browser, and keep only your own domain in the app |
// Google blocks its sign-in page inside a WebView (403 disallowed_useragent).
// Open it in a Custom Tab, which shares the browser's sign-in, instead:
override fun shouldOverrideUrlLoading(view: WebView, request: WebResourceRequest): Boolean {
    val url = request.url
    if (url.host == "accounts.google.com") {
        CustomTabsIntent.Builder().build().launchUrl(context, url)
        return true
    }
    return false
}
Which way should you choose?
- Just testing the idea, or an app only your team uses: a free online builder.
- You want to learn Android development: build it yourself with our Android Studio guide.
- You want it on Google Play this week, with your own ads and no monthly fee: ready source code.
Ready source code for your website app
Our Website to Android App source code (Classic design) is Kotlin and Jetpack Compose, and everything you change is in one config file: your website, the bottom tabs, the menu links and every feature switch. It includes push notifications with Firebase, AdMob, an offline page, file uploads and downloads, saved pages, a QR scanner, a PIN lock, dark mode and payment pages that stay inside the app (PayPal, Stripe, JazzCash, Easypaisa). It targets Android 17 (API 37) and runs on Android 7.0 and newer.
Prefer a floating dock menu instead of classic tabs? The Dock design has the same features with a different look.
Where to go next
- Build a WebView app yourself in Android Studio
- Add AdMob ads to your app
- Reskin an Android app with your own name, icon and colours