How to Publish an App on Google Play in 2026 (12 Testers Rule, Step by Step)
Publish your first Android app on Google Play from Pakistan or India: the $25 account, ID and device checks, target API 36, the store listing, the 12-testers-for-14-days closed test, production access, and the reasons apps get rejected.
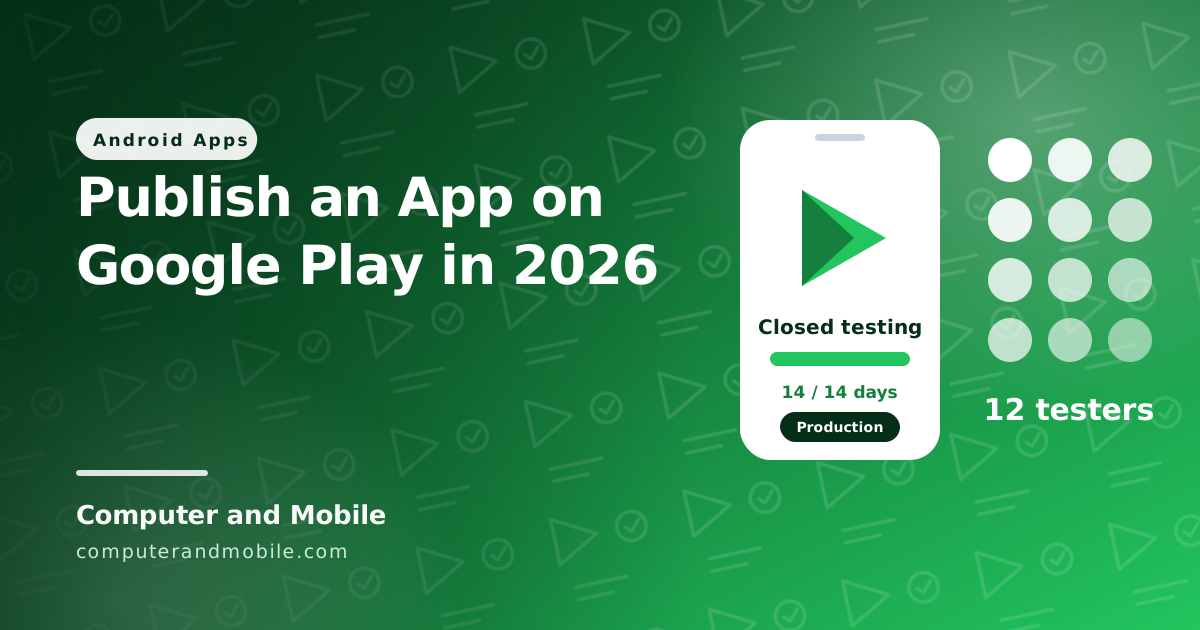
Publishing on Google Play is not hard, but it is slow the first time, and most of the waiting comes from one rule: a new personal developer account must test its app with at least 12 testers for 14 days in a row before Google lets it reach the public. Plan for about three to four weeks from creating the account to your app being live.
This guide goes through every step in order, with what you need from Pakistan or India, the forms Google asks you to fill in, how to get your 12 testers for free, and the reasons apps get rejected.
The timeline at a glance (a typical first app)
Day 0      Create the developer account and pay $25
Day 0-3    Identity check (ID card or passport) and device check (Play Console app)
Day 1-3    Upload the first build to a closed test, Google reviews it
Day 3      Testers start opting in
Day 17     12+ testers have stayed opted in for 14 days in a row
Day 17     Apply for production access and answer the questions
Day 17-24  Google reviews the application (usually 7 days or less)
Day 24+    Publish to production; the release itself is reviewed too
Step 1: Create the developer account
Go to the Play Console sign-up page with the Gmail account you want to own your apps. You choose one of two account types:
| Personal account | Organisation account | |
|---|---|---|
| For | Individual developers | Registered businesses |
| Proof | Government ID: CNIC or passport (Aadhaar or passport in India) | A D-U-N-S number for the business, plus business documents |
| Closed test with 12 testers | Required (accounts created after 13 November 2023) | Not required |
| Name shown on Google Play | Your developer name | The business name |
Most people start with a personal account. The fee is $25, paid once, not every year, and it is not refunded. At about Rs 280 to the dollar that is roughly Rs 7,000, plus your bank's card fee.
Paying from Pakistan: use a Visa or Mastercard debit or credit card and turn on online international payments in your bank's app first; that switch is the usual reason a first payment fails. Prepaid cards are often refused. If the payment still fails, your bank can enable international e-commerce on the card.
Step 2: Verify your identity and your Android device
- Identity: upload your CNIC or passport and give your legal name and home address exactly as they are on the document. A mismatch is the most common reason the check fails.
- Phone number and email: both are verified with a code.
- An Android device: new personal accounts must prove they have a real Android phone. In Play Console, open the task Verify that you have access to an Android mobile device, scan the QR code with the phone, sign in to the Play Console app as the account owner and tap Verify. The phone must run Android 10 or newer and must not be rooted.
Step 3: Get the app ready
| Requirement | What to do |
|---|---|
| Target API | From 31 August 2026 new apps and updates must target Android 16 (API 36) or higher. Set targetSdk = 36 (or newer) in app/build.gradle.kts and test the app on Android 16. |
| App bundle | Upload an .aab, not an APK: Build → Generate Signed App Bundle in Android Studio. |
| Signing key | Android Studio creates an upload key. Keep the .jks file and its passwords safe; Google Play App Signing keeps the real signing key. |
| Version | Raise versionCode for every upload. |
| Package name | Your own, for example com.yourname.appname. It can never be changed after the first upload. |
| Privacy policy | A page on your website that says what data the app and its SDKs (AdMob, Firebase) collect |
Step 4: The store listing and the app content forms
The store listing needs an app name (up to 30 characters), a short description (up to 80), a full description (up to 4,000), a 512 × 512 icon, a 1024 × 500 feature graphic and at least two phone screenshots. Describe what the app does in plain words; stuffing the description with keywords or other apps' names gets it rejected.
Under Policy and programs → App content Google asks you to complete these forms. Answer them truthfully, because they are checked against the app:
- Privacy policy link
- Ads: does the app show ads (AdMob counts)
- App access: if the app needs a login, give the reviewers a test account
- Content rating questionnaire
- Target audience and whether children are included
- Data safety: what data is collected and shared, including by AdMob and Firebase
- Extra declarations when they apply: for example the VpnService declaration for VPN apps, financial features, or health apps
Step 5: Run the closed test with 12 testers for 14 days
- In Play Console open Test and release → Testing → Closed testing and create a track.
- Add testers: either a list of Gmail addresses, or a Google Group, which is easier because anyone who joins the group becomes a tester.
- Upload your
.aabto the track and send it for review. The first closed release is reviewed before testers can join. - Share the opt-in link. A tester only counts after they open that link and tap Become a tester; adding an email to a list is not enough.
- Keep at least 12 testers opted in for 14 days in a row. If the number drops below 12, the count starts again.
Twelve is the minimum, not the target. Invite 15 to 20 people, because one person leaving on day 13 resets the clock. Google also looks at whether testers actually used the app, so ask them to open it now and then and to send you feedback; you will be asked about that feedback later.
Where to get testers for free
- Friends and family with their own Gmail and an Android phone. This is the most reliable source.
- Developer exchange groups, where developers test each other's apps. You test theirs; they test yours.
- Your own users, if you have a website, a WhatsApp group or followers: invite them to try the app early.
Avoid buying “12 testers” packages that only add accounts without real use. Google judges engagement, and a test with no real activity is a common reason production access is refused.
A message you can send to your testers:
Hi! I am publishing my first Android app on Google Play and Google needs
12 people to test it for 14 days before it can go live.

It takes one minute:
1. Join this group with your Gmail: https://groups.google.com/g/YOUR-GROUP
2. Open this link and tap "Become a tester": https://play.google.com/apps/testing/com.yourcompany.app
3. Install the app from the Play Store link on that page

Please keep it installed for 14 days and open it once in a while.
If anything looks wrong, just reply and tell me. Thank you!
Step 6: Apply for production access
When the 14 days are done, the Apply for production button becomes active on the Dashboard. Google asks about your closed test (how you found testers, how they used the app, what feedback you got and what you changed), about the app and who it is for, and whether it is ready for the public. Give real, specific answers. The review usually takes up to 7 days.
Step 7: Release to production
Once production access is granted, create a release on the Production track, choose the countries, and send it for review. A staged rollout (for example 20% of users first) lets you catch crashes before everyone gets the update. Later updates go through the same review, usually faster.
Why apps get rejected, and the fix
| Reason | Fix |
|---|---|
| Minimum functionality: the app is only a website in a frame | Add features a browser tab cannot give: push notifications, offline page, bottom menu. See converting a website to an app. |
| Other brands in the name, icon or description (for example WhatsApp or YouTube) | Remove them, and add “not affiliated with” where you mention a service you work with |
| Data safety does not match the app | Declare what AdMob, Firebase and your own servers collect |
| Missing or broken privacy policy | Link a real page on your own domain |
| Target API too low | Target API 36 or newer |
| Crashes or a broken login during review | Test on a real phone and give reviewers a working test account |
| Ads that cover content or appear on app launch | Follow AdMob placement rules; see adding AdMob ads |
| Production access refused after the test | Testers did not really use the app: run a new 14 days with active testers and act on their feedback |
What it costs
| Item | Cost |
|---|---|
| Developer account | $25, once |
| Privacy policy page | Free on your own website, or a page on a free hosting service |
| Testers | Free, with friends, family and exchange groups |
| Time | About three to four weeks for the first app; each new app on a personal account needs its own closed test |
Apps that are ready to publish
If you do not have an app yet, our Website to Android App source code targets Android 17 (API 37), so it is already past Google's target API rule. It adds the app features reviewers look for (push notifications, an offline page, a bottom menu, saved pages) and its README has a step-by-step Publish on Google Play section. Every app in our shop comes as full source code that you reskin with your own name and icon before you publish; see how to reskin an Android app.
Where to go next
- Reskin an Android app before you publish it under your own name
- Add AdMob ads that follow the rules
- Turn your website into an app